Didomi's GTM template
This section describes how to enable and configure Didomi's GTM custom template. The template is part of Google's Community Template Gallery.
There are a few reasons why you might want to make use of this template:
Enabling this template on your site automatically enables Google Consent Mode support.
Templates are a native way to integrate with GTM.
Any time a template is updated you will have the chance to automatically update it via the GTM console.
No custom events or triggers are needed to handle Google consent mode statuses. The template currently supports GCM statuses only (Google Ads and Google Analytics).
When to use Didomi's GTM template?
If you need to enable Google Consent Mode for your site, the GTM template is the most performant way to do so.
How to enable and configure Didomi's GTM template?

In order to use this GTM template (Didomi CMP), you will need to create a new tag and associate the template with at least one trigger.
Creating a new tag
After accessing your Google Tag Manager account and select your workspace of choice.
Click the "New Tag" button as shown here,
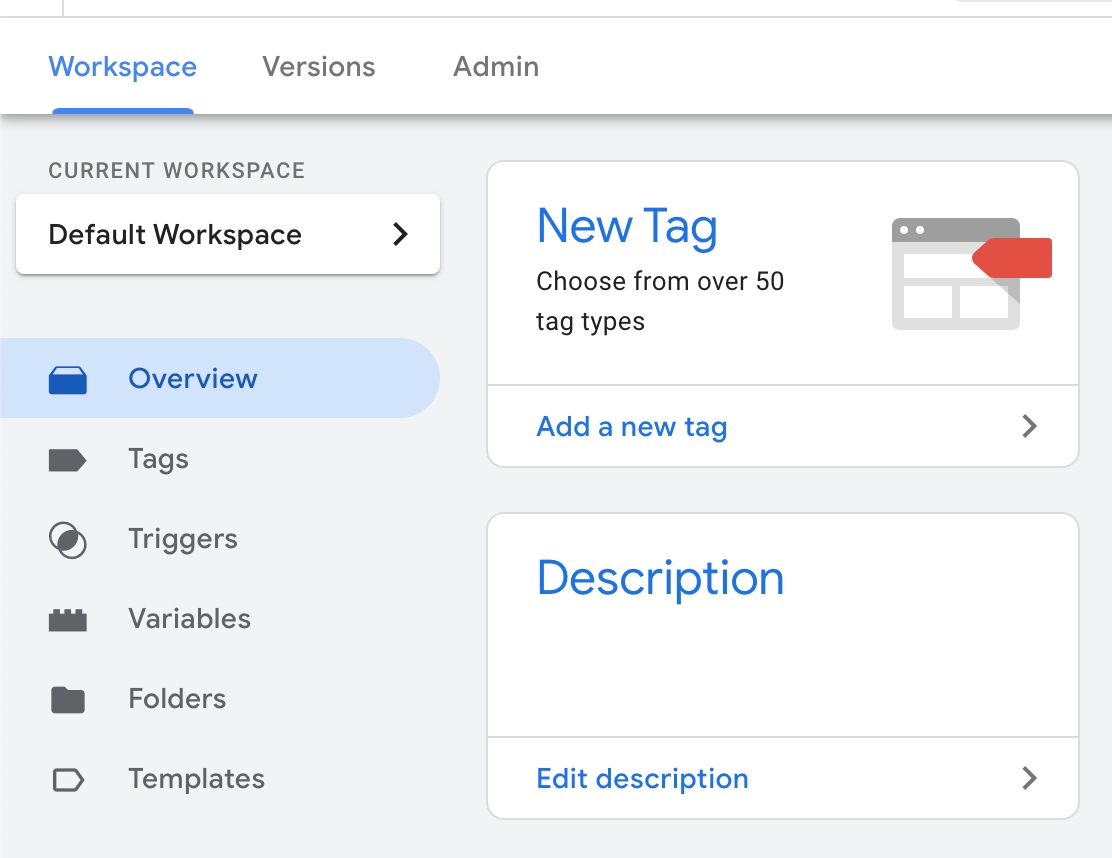
Or navigate to the "Tags" tab, and click on the "New" button at the top right side of the tags table.

Use a relevant name for the new tag ("Didomi CMP" was used for this example) and hit the "Tag Configuration" card.
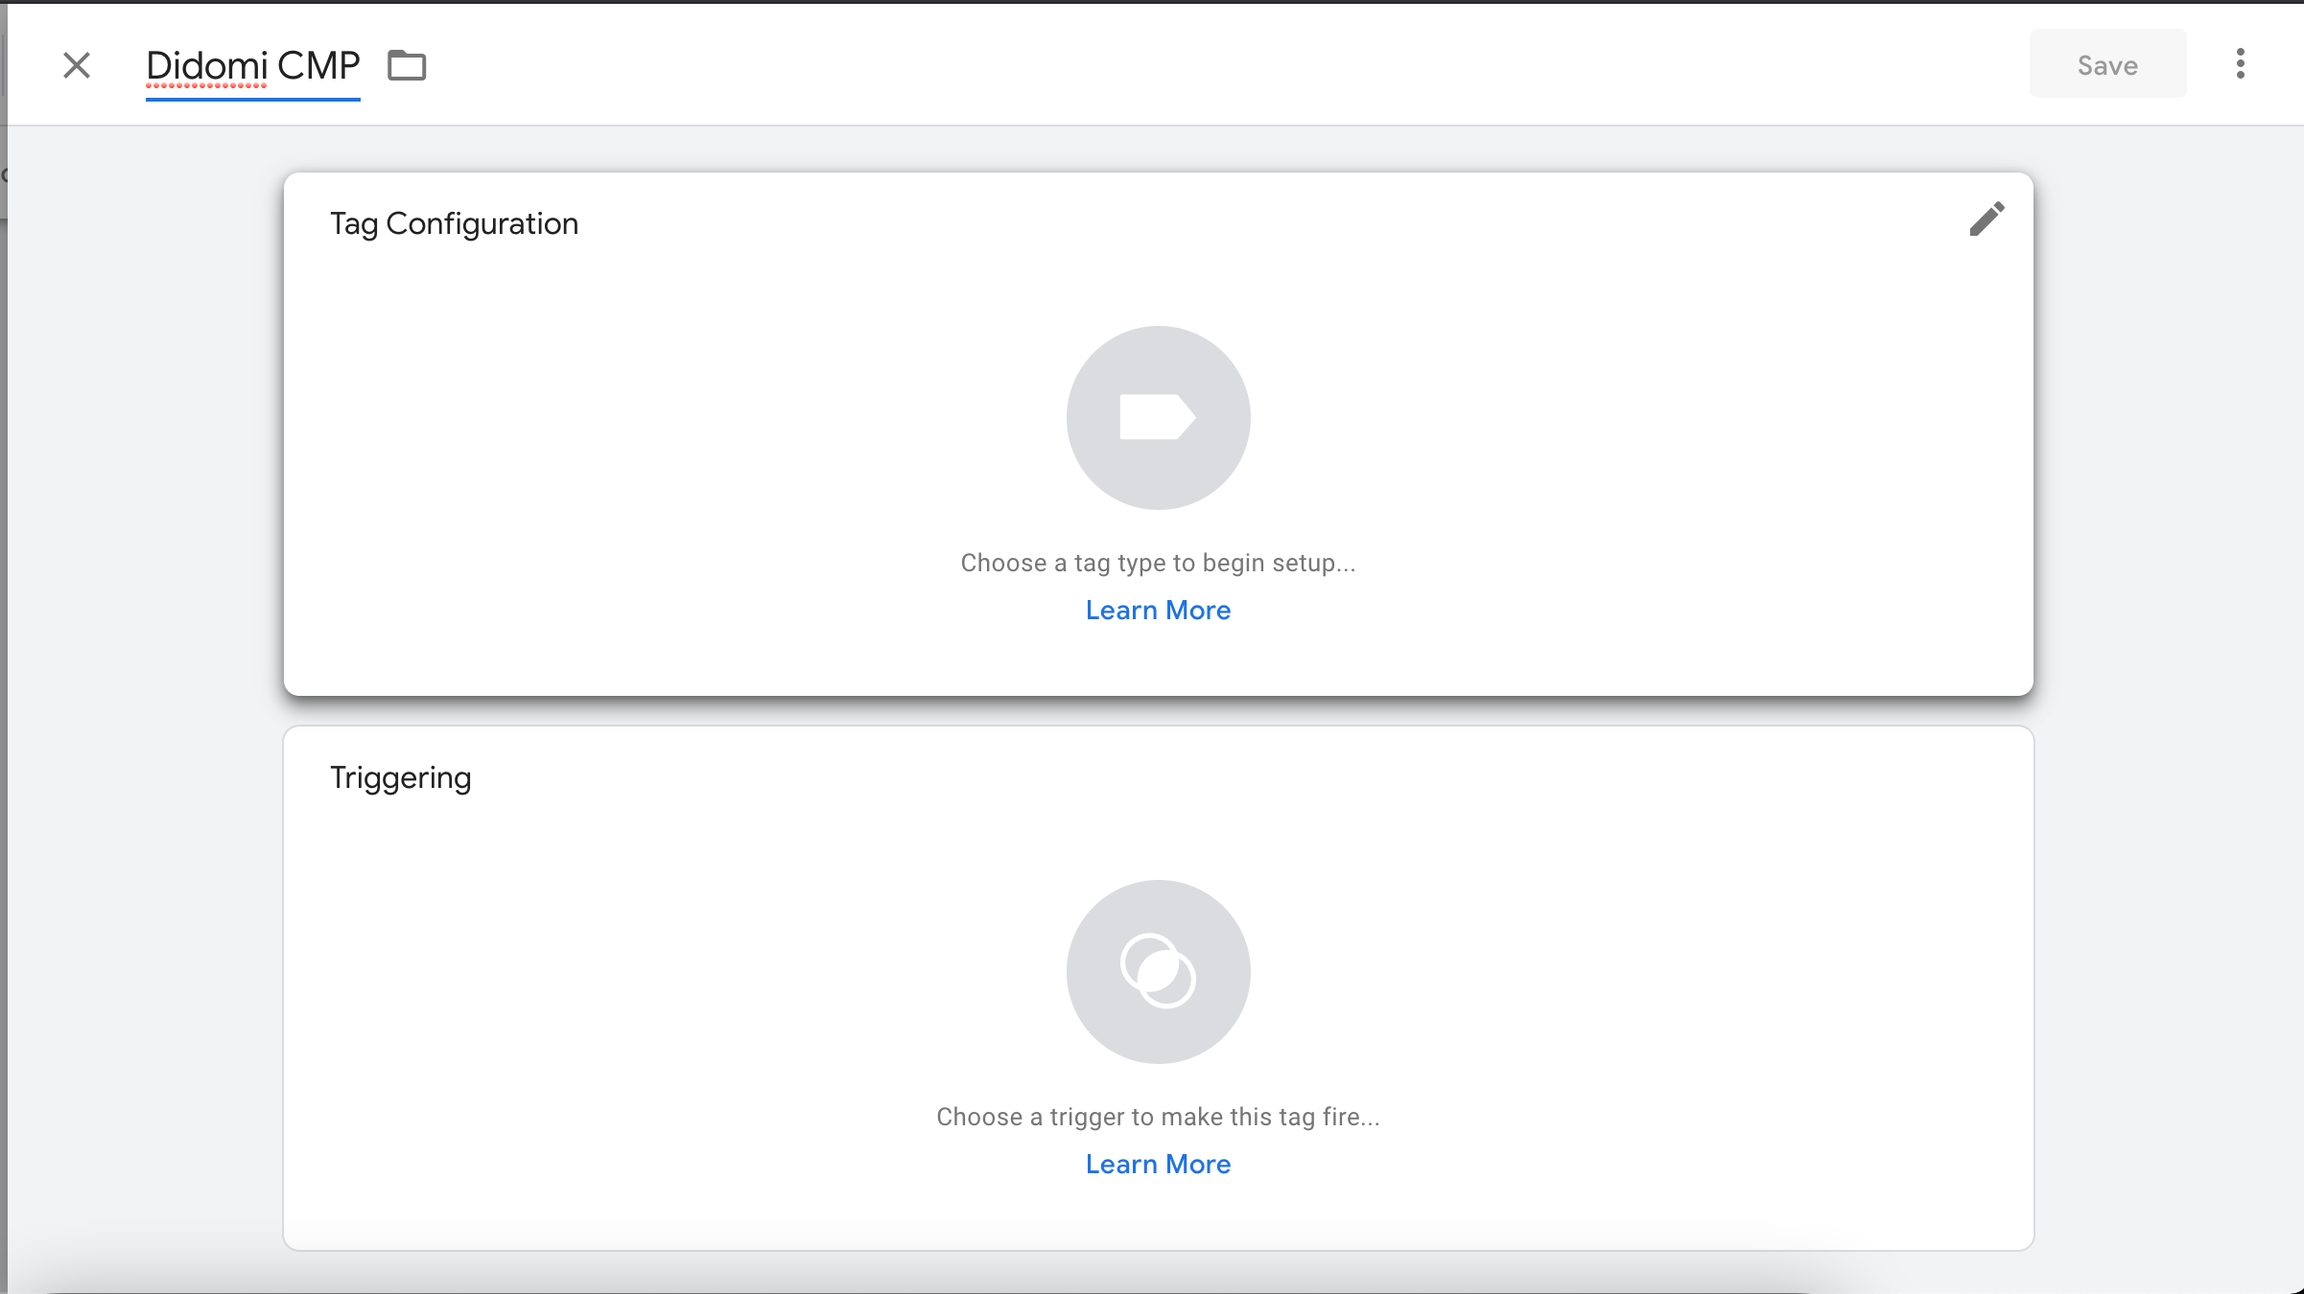
From that screen you should have access to all the templates in the Community Template Gallery, including the "Didomi CMP" one. Look for it and load it.
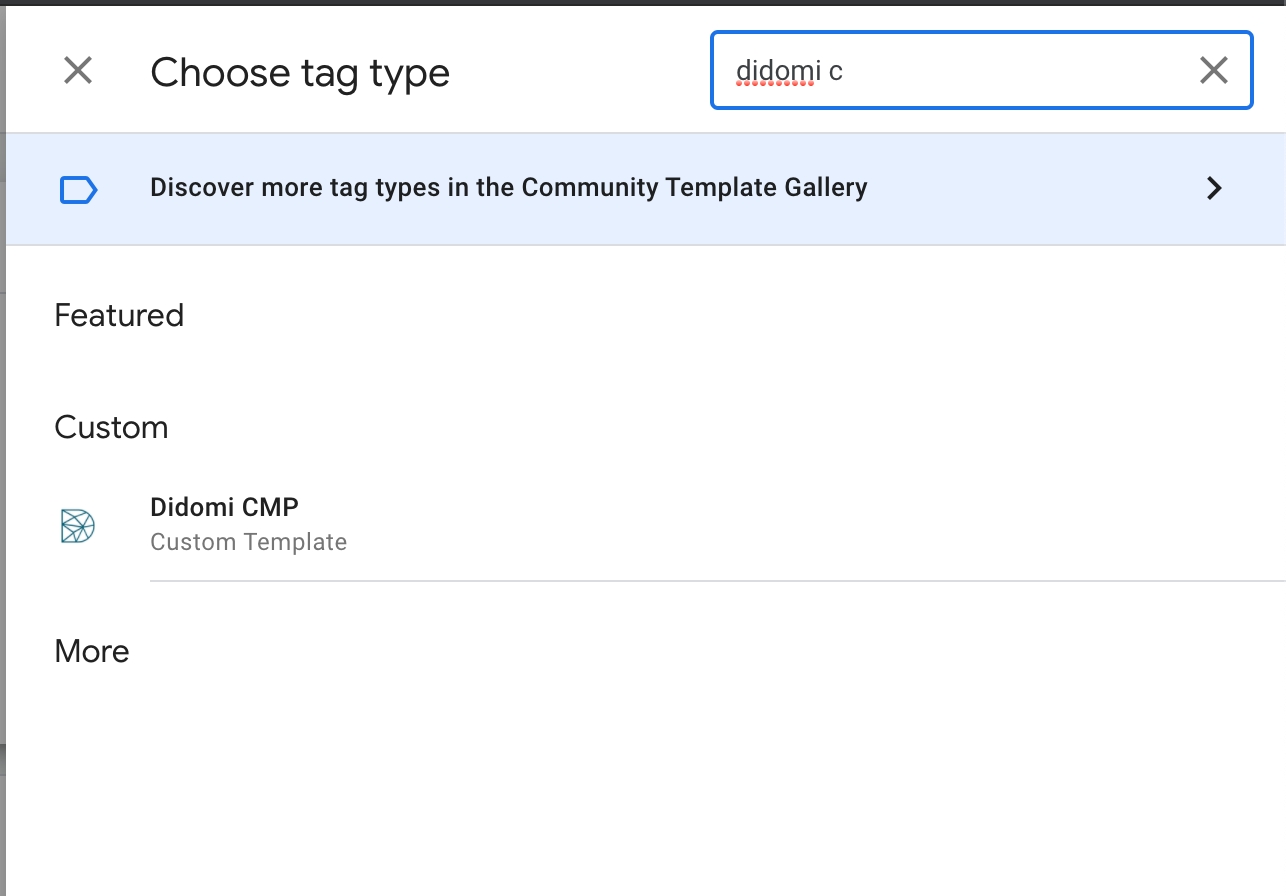
At this point, you should have access to the template UI

Associating a trigger to a tag
We want our tag to be fired on all pages and make sure that it is fired before any other tags. In order to achieve that,
Click on the "Triggering" card to choose a trigger so that the tag fires.
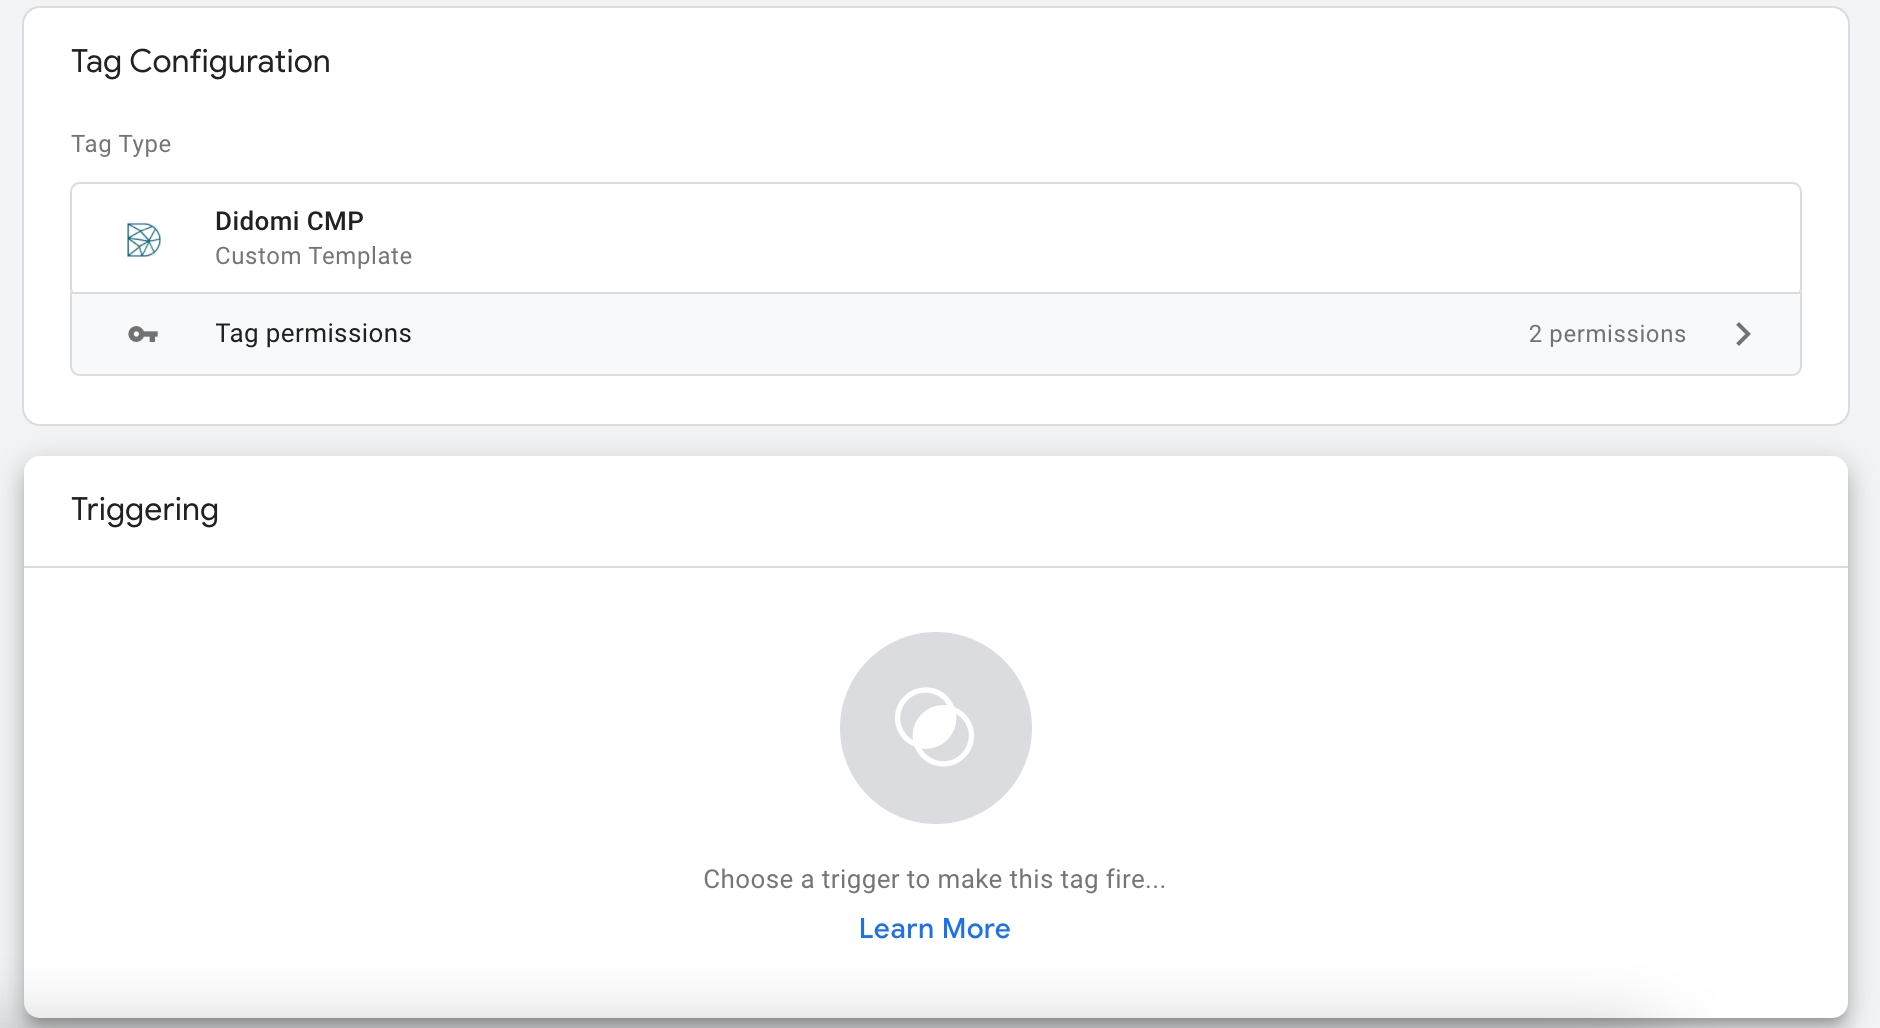
Select the "Consent Initialization" trigger.

Save the tag. This is where you will choose the default values for the consent mode parameters.

Setting Default Consent Values by Region
The Didomi GTM template allows you to configure default consent states for different regions, ensuring compliance with various privacy regulations while optimizing user experience.
Regional Default Behavior
The template includes pre-configured regional settings that align with Didomi's regulation logic:
GDPR regions are set to denied by default, including:
EU countries: AT, BE, BG, CY, CZ, DE, DK, EE, ES, FI, FR, GR, HR, HU, IE, IT, LT, LU, LV, MT, NL, PL, PT, RO, SE, SI, SK
Other GDPR-regulated territories: AD, BR, GB, GF, GG, GI, GP, IS, JE, LI, MC, MF, MQ, NO, RE, SM, VA, YT
Non-GDPR regions: Default behavior depends on the global configuration option
Global Configuration Option
Use the "Set all GCM purposes to GRANTED by default - for all regions except EU" checkbox to control the default consent behavior:
When enabled:
GDPR regions are denied by default
Non-GDPR regions are granted by default.
When disabled: All regions are denied by default (legacy behavior)
Custom Regional Overrides
For more granular control, you can override default settings for specific regions using the parameter table:
Region field: Enter ISO 3166-2 region codes (e.g., "US-CA, US-CO" for California and Colorado)
Leave blank: To apply settings to all regions not covered by other entries
Consent types: Set individual consent states for each Google Consent Mode purpose
The template processes these overrides in order, with later entries taking precedence over earlier ones.

Embedding the Didomi Web SDK from the GTM template
The template's UI will give you the option of embedding the Didomi Web SDK from within the template:

While the template can embed the SDK directly on your website, we do not recommend this setup in production as it delays loading the Web SDK and subsequent tags that depend on it like advertising, analytics, etc. We are leaving the option available for testing purposes. Embedding the Didomi SDK through GTM will result in fewer consents being passed to vendors and a lower consent rate from their perspective.
We recommend embedding the Web SDK directly into the source code of your website for the best performance. By being directly in the source code of your website, the Didomi Web SDK can load faster and also ensures that IAB vendors can detect a CMP on the page as soon as possible.
When embedding the Didomi Web SDK directly in the code of your website, make sure that the "Embed the Didomi Web SDK" option on the template is disabled.
Embedding the Web SDK configuration
Once you have enabled the "Embed the Didomi Web SDK" option, the UI will change as follows.
A quick note on the fields,

Public API key: Required field. It must be a valid UUID value.
Notice ID: Optional field. Setting its value would be the equivalent to configuring "Manual Targeting" in the Didomi console. Leaving it blank would be the equivalent to "Domain Targeting" in the Didomi console.
Enable IAB TCF support: Enable this option if the IAB TCF is enabled for your consent notice in the Didomi Console. See https://support.didomi.io/iab-tcf for more information.
Preview
In order to test the tag on a website, you can make use of the "Preview" feature of the GTM platform. You can find a "Preview" button at the top right of the GTM navbar menu.

You will be prompted by the following screen where you can set up the URL of your website.
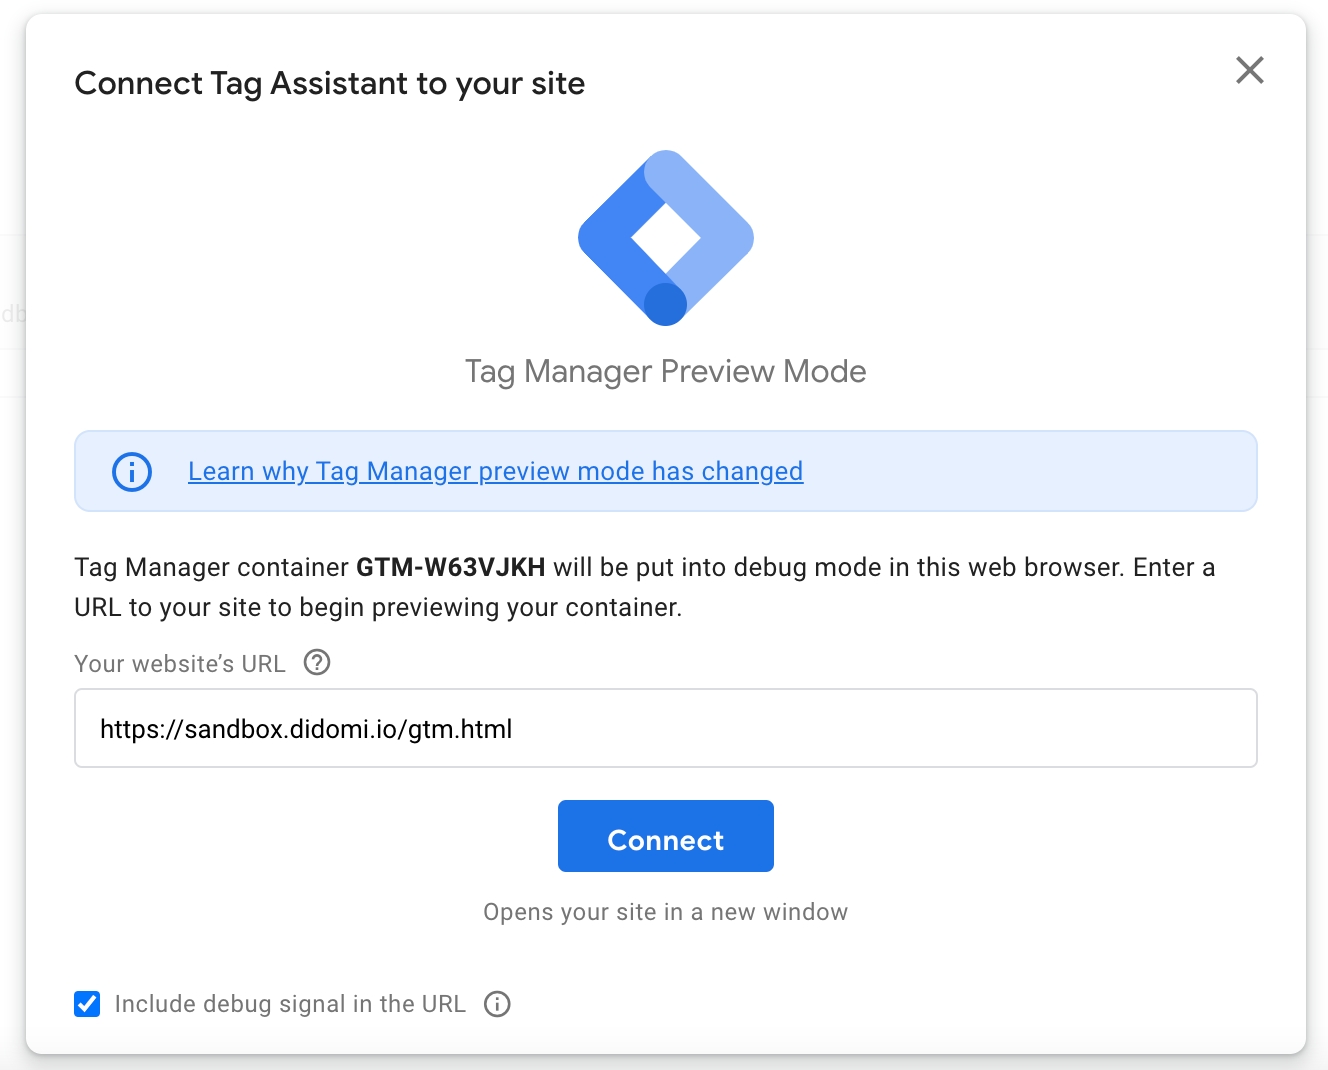
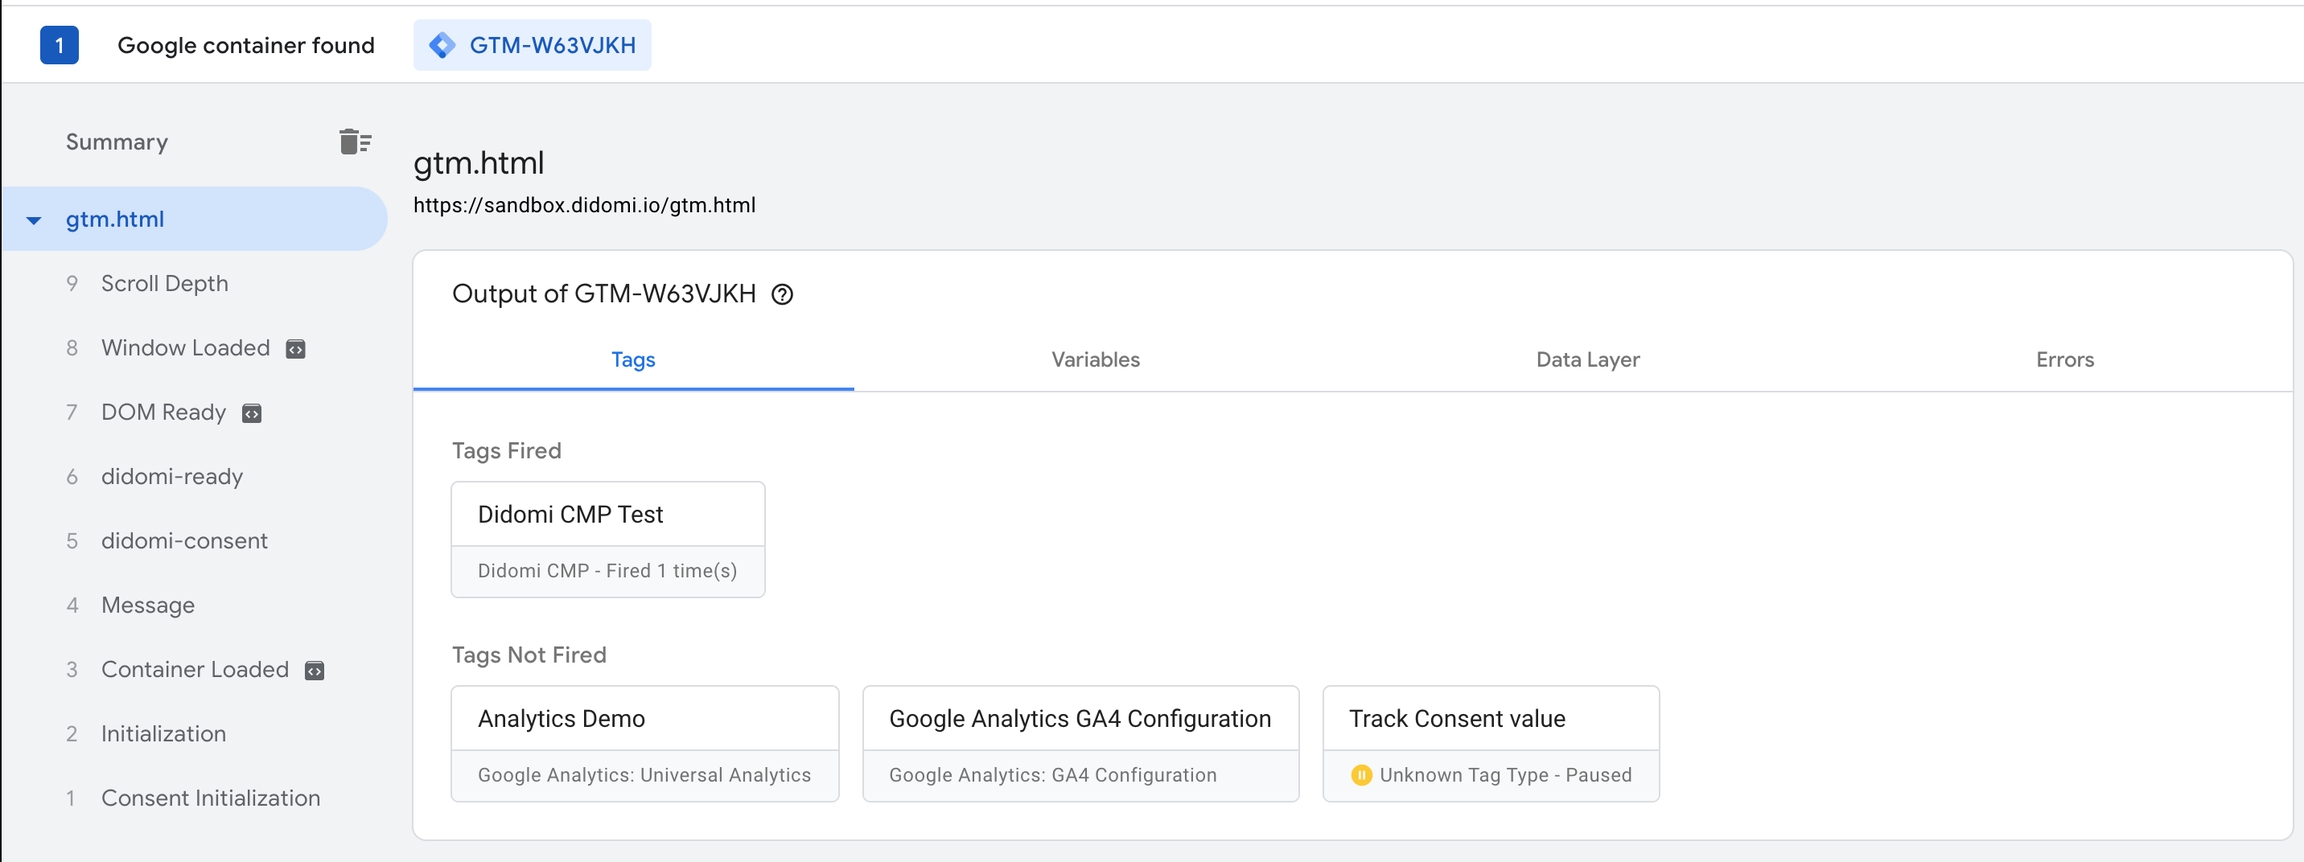
Clicking continue opens the "Tag Assistant" website. This assistant is a live tool that can help tremendously with debugging your tags and/or templates.
You can see that the tag being previewed is in fact being fired during the initial load of the site.
Submit
Once the testing/previewing process has been successful, you can "Submit" a tag to a website so that it goes live.
In this case, click on the "Submit" button at the top right of the GTM nav bar menu (to the right of the "Preview" button).
Debugging
You can check whether "hits" are being correctly transmitted to Google or not. To do so, go to the DevTools/Network tab, filter by "collect" and look for the gcs parameter (as shown in the image below).

You will find a value for the parameter (G111 in this case). It can be understood as follows:
G1: This initial value is always the same.
The following digit (0 or 1) refers to
ad_storage.The third number (0 or 1) refers to
analytics_storage.
For both cases 0 means “denied” and 1 means “granted”.
In our case, G111 means that marketing and statistics cookies have both received consent.
If you're previewing and/or have submitted our GTM template to your site and the gcs parameter values don't match, please make sure to enable the following vendor IDs via the DIDOMI console: google, googleana-4TXnJigR
Last updated